
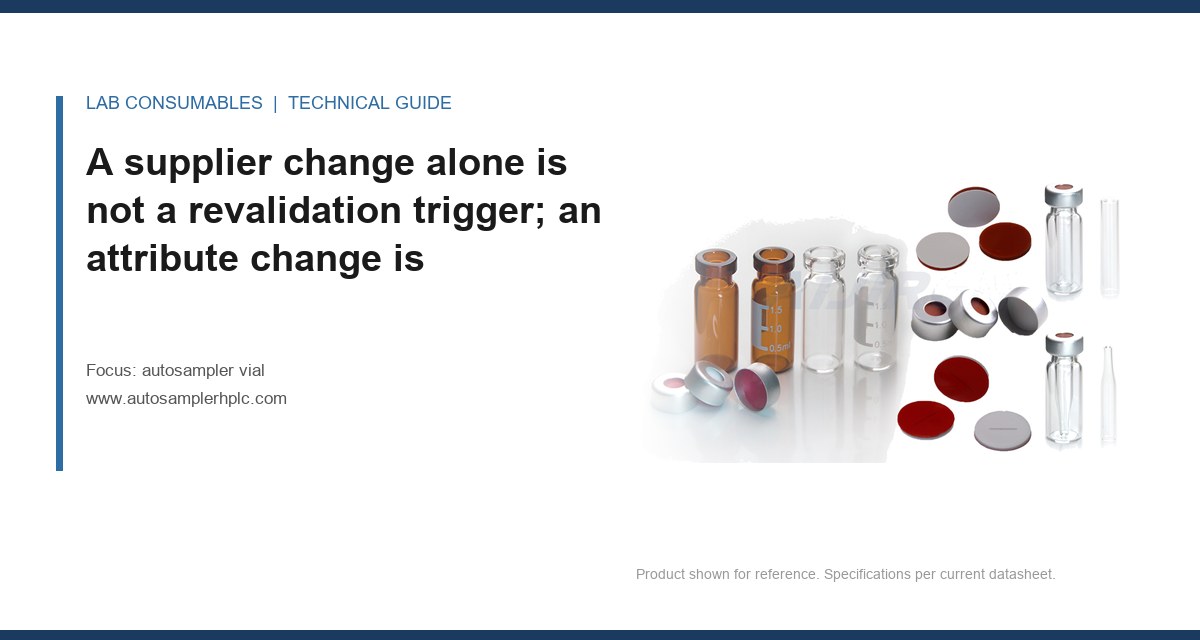
The sequence ran 47 injections before anyone noticed. Peak area for the internal standard had drifted 6.8% RSD across the batch, well outside the 2.0% acceptance criterion in the method, and the analyst pulled the run. The column was three weeks old. The mobile phase was fresh. What had changed was a pallet of 32 x 11.6 mm clear vials from a second supplier, brought in mid-quarter because the primary vendor was backordered. Same catalog number. Different glass tubing source. That is the moment when revalidation triggers when a autosampler vial supplier or lot changes stop being a theoretical question in a change-control SOP and become a decision someone has to defend to an inspector six months later.
I have written and defended more of these change-control entries than I care to count. The pattern is consistent: most labs either over-validate (re-running full ICH Q2(R2) accuracy and precision for a cosmetic vial change, burning three weeks of instrument time) or under-document (swapping suppliers with a note that says “equivalent part, no impact”). Both are wrong. The right answer sits in the middle, and it depends on which specific attribute of the vial changed, not on the fact that the supplier’s name changed.
This is the distinction that makes the whole decision tractable. Inspectors do not care that you moved from Vendor A to Vendor B. They care whether you established that the critical quality attributes of the vial, as they touch the analytical method, are unchanged. If they are unchanged and you can prove it, you verify. If any of them moved, you revalidate the affected portion of the method.
For an autosampler vial the critical attributes are short and specific:
- Glass composition and hydrolytic class (Type I borosilicate per USP <660>, with the surface hydrolytic resistance test in that chapter)
- Neck geometry and crimp or screw dimension, which sets how the vial sits in the tray and how the needle enters
- Septum formulation (silicone durometer, PTFE facing thickness, whether it is a one-piece molded septum or a two-piece laminated one)
- Septum compression after capping, which is a function of cap torque or crimp height
- Residual extractables from the glass and septum, measured as a blank injection profile
Notice what is not on the list: the color of the cap, the label, the packaging configuration, the certificate of analysis format. Those are administrative changes and belong in a supplier qualification file, not a revalidation plan.
The decision matrix: verify, revalidate, or do nothing
Here is the table I use. It is the fastest way to route a change-control entry, and it is defensible because every row maps to a measurable attribute.
| Change | Action | Evidence required |
|---|---|---|
| Same supplier, same catalog number, new manufacturing lot | Verification only | One blank injection + one system suitability injection from the new lot; compare to historical baseline |
| New supplier, identical glass type and septum formulation, full CoA with dimensional data | Verification, expanded | Three lots of system suitability (n=6 injections each), septa puncture test to 100 punctures, blank profile |
| Septum formulation change (e.g., silicone durometer or PTFE thickness) | Revalidation of the injection precision and carryover portions | Full precision (n=6, RSD ≤ 2.0%), carryover at ≤ 0.1% of the main peak, extractables screen |
| Glass type change (Type I to Type III, or soda-lime to borosilicate) | Full revalidation of accuracy, precision, and specificity | ICH Q2(R2) accuracy and precision, plus blank and placebo injections for the whole method |
| Neck geometry or cap dimension change | Revalidation of system suitability plus mechanical fit check | Needle penetration depth, tray seating, torque verification to 1.5 to 2.0 in-lb for 9 mm screw caps |
| Cosmetic or packaging change only | No action beyond supplier file update | Change-control log entry only |
The row that catches most labs is the second one: new supplier, identical spec. The temptation is to treat it as a cosmetic change because the certificate of analysis matches. It does not work that way. Two suppliers can both claim Type I borosilicate and still differ in residual surface alkalinity, and that difference shows up as a slow baseline drift in ion-pair methods or as a change in the silanol activity of the glass surface. You need the three-lot verification, and you need it before the new stock hits the bench.
What “verification” actually means at the bench
Verification is not a formality. It is a defined experiment with a defined acceptance criterion, and if you cannot state both in advance, you are not verifying anything. For a lot-to-lot change on the same catalog number, this is what I run:
- Blank injection from three vials of the new lot, injected with the method’s mobile phase, scanned for peaks above the method’s limit of detection. Acceptance: no peak greater than 10% of the analyte’s LOQ.
- System suitability with the method’s standard, n=6 injections, from the new lot. Acceptance: peak area RSD ≤ 2.0% (or the method’s stated criterion), retention time RSD ≤ 1.0%, tailing factor within the method’s range.
- Carryover check: high-concentration standard followed by blank, from the new lot. Acceptance: ≤ 0.1% of the main peak area in the blank, or the method’s stated limit.
- Mechanical fit: run the full batch through the autosampler without intervention and confirm no needle errors, no tray jams, no partial vial pickups. If you are on a headspace vial format, this includes the crimp height check with a go/no-go gauge.
That is roughly a half-day of instrument time. It is the appropriate scope for a same-spec supplier change. It is not enough for a septum formulation change.
The septum is where most supplier changes actually bite
I have said elsewhere that PTFE is the default face and not a default septum, and the revalidation question is where that matters. The septum is the only part of the vial that the method physically interacts with on every injection. A supplier change that keeps the glass identical but sources a different silicone durometer or a thinner PTFE facing will change two things: the force required for the needle to penetrate, and the amount of septum material that gets pushed into the vial headspace or into the needle bore.
Both show up as measurable effects. The first shows up as needle bend or as an autosampler error code when the penetration force exceeds the drive’s tolerance. The second shows up as extractable peaks in the blank, or as a slow shift in retention time if the septum material is adsorbing the analyte.
For a septum change, the verification expands to a puncture test to 100 punctures on a single vial, checking for coring (visible fragments in the vial) and for peak area drift across the puncture series. If the RSD across the 100-puncture series exceeds 3.0%, the septum is not equivalent and you revalidate. The autosampler vial specification you hold should already state the puncture count the method assumes; if it does not, that is the first thing to fix in your supplier file.
Writing the change-control entry so an inspector accepts it
This is where most labs lose the argument, and it has nothing to do with the science. The entry fails because it is written as a narrative (“we changed suppliers and verified equivalence”) instead of as a decision record with a traceable rationale. An inspector reading it wants to see four things, in this order:
1. The trigger, stated as an attribute, not a vendor name
Bad: “Changed vial supplier from Vendor A to Vendor B.” Good: “Change in glass tubing source for catalog number X, same nominal dimensions (32 x 11.6 mm, 9 mm screw thread), same claimed USP <660> Type I classification, different tubing melt lot. Septum formulation unchanged.” The second version tells the inspector exactly which attributes moved and which did not, and it lets them follow your risk assessment without asking you questions.
2. The risk assessment, tied to method attributes
State which method attributes could be affected and why. A vial change cannot affect the accuracy of a method whose analyte never touches the glass surface (a headspace method, for example) but it can affect the blank profile. A vial change can affect precision for any method that depends on consistent needle penetration. Write the reasoning out. One paragraph per attribute is enough.
3. The verification or revalidation protocol, with acceptance criteria stated before the run
Pre-specified criteria are the whole point. If you write the acceptance criterion after you see the data, the entry is worthless. State the RSD limit, the carryover limit, the blank limit, and the mechanical fit criterion before the experiment. Then report the actual values against them.
4. The conclusion and the disposition
State plainly: “Verification passed. New supplier approved for use. No revalidation required. Effective date: [date].” Or: “Revalidation of precision required and completed. Method performance unchanged. New supplier approved.” The disposition is the sentence the inspector is looking for.
One more thing: keep the raw data. The chromatograms from the verification run are what an inspector will ask to see if the entry is challenged, and a summary table without the underlying injections is not evidence. This is separate from your routine audit documentation, which has its own requirements; here the point is that the verification data has to be retrievable by lot number.
Two field cases
Case 1: the 6.8% RSD that was not the column
A pharma QC lab running a reversed-phase assay on a small-molecule API saw internal standard area RSD climb from 1.2% to 6.8% over a three-week period. The analyst replaced the column, remade mobile phase, and re-passivated the system. No change. The measurement that identified the cause was a blank injection series from three different vial lots held in the lab: the new supplier’s lot showed a broad hump at 4.2 minutes that the old lot did not, and the hump co-eluted with the internal standard’s integration window. The fix was to switch back to the qualified supplier and re-run the verification protocol against the original baseline. Root cause: the new supplier’s glass had a higher residual surface alkalinity, which shifted the elution of a pH-sensitive internal standard. The change-control entry that should have caught it was a same-spec supplier change that had been logged as “no impact” without a blank series. The lesson is that the blank injection is not optional in a supplier-change verification; it is the only test that catches glass chemistry differences.
Case 2: the crimp height that passed the gauge and failed the method
A contract lab running a GC vial method for residual solvents in packaging materials started seeing headspace pressure errors on roughly 2% of vials after a crimp cap supplier change. The go/no-go gauge said the crimp height was in specification. The measurement that found the problem was a torque and crimp-height audit across 50 vials from the new lot: the mean crimp height was within spec, but the standard deviation was 0.12 mm versus 0.04 mm on the old lot, and the out-of-spec tail was what the instrument was hitting. The fix was to tighten the crimper setting and add a 10-vial crimp-height check to the incoming inspection for that lot. The change-control entry was revised to add the crimp-height standard deviation as an acceptance criterion, not just the mean.
A checklist for the incoming lot, before it reaches the tray
Revalidation decisions are easier when the incoming inspection catches the attribute change before the method does. For any new lot or supplier, run this before releasing stock:
- Dimensional check on 30 vials: OD, height, neck ID, thread pitch. Compare to the qualified specification, not to the supplier’s CoA.
- Crimp height or cap torque on 10 capped vials: mean and standard deviation against the qualified baseline. Screw caps at 1.5 to 2.0 in-lb; crimp height per the method’s gauge.
- Blank injection from 3 vials: no peak above 10% of LOQ.
- Septum puncture test to 100 punctures on one vial: no coring, peak area RSD ≤ 3.0%.
- Hydrolytic resistance: supplier CoA per USP <660>, with the test method stated. If the CoA does not state the method, request it before release.
This is a two-hour inspection on a 30-vial sample. It is cheap compared to a failed batch, and it gives you the data to write the change-control entry without a second experiment.
Where the method text and the supplier file have to agree
One structural point that saves a lot of argument: the method should state the vial specification by attribute (dimensions, glass type, septum formulation, puncture rating), not by catalog number. If the method names a catalog number, every supplier change becomes a method change and you are revalidating for a part number. If the method states attributes, the change-control entry can demonstrate equivalence against the stated attributes and the revalidation scope collapses to the verification protocol. I have moved three methods from catalog-number to attribute-based specifications, and in each case the change-control burden dropped by roughly 70% without weakening the method. The vial specification in your supplier file and the specification in the method should be the same document, referenced from both.
For the analytical side of what the method has to demonstrate, the vendor technical libraries are worth keeping on hand: Agilent’s chromatography consumables and column documentation covers the system suitability side, Thermo Fisher’s chromatography and sample handling resources cover the injection and sample handling side, and Restek’s technical resources have the clearest write-ups on septa and inlet consumables. For methods governed by SW-846, the EPA SW-846 test methods page is the authority on what the container has to demonstrate within the analytical batch.
The decision rule
If the change is a new lot from a qualified supplier with an unchanged specification, verify with a blank series, a six-injection system suitability, and a mechanical fit check, and close the entry with the disposition sentence. If the change moves any of the five critical attributes (glass composition, neck geometry, septum formulation, septum compression, or extractables profile), revalidate the affected method attributes against pre-specified acceptance criteria and keep the raw chromatograms retrievable by lot. Write the entry as a decision record with the trigger, the risk assessment, the protocol, and the disposition, in that order, and state the acceptance criteria before you run the experiment. An inspector does not need you to have revalidated everything. They need to see that you knew which attributes mattered, tested them, and wrote down the answer before you saw the data.
References & further reading
Related resources from our lab consumables network:
- Autosampler Vial at autosamplerhplc.com
- Vial at vials-filters.com
- Headspace Vial at headspacevialsupplier.com
- Gc Vial at gcvialfactory.com
External references and standards: