
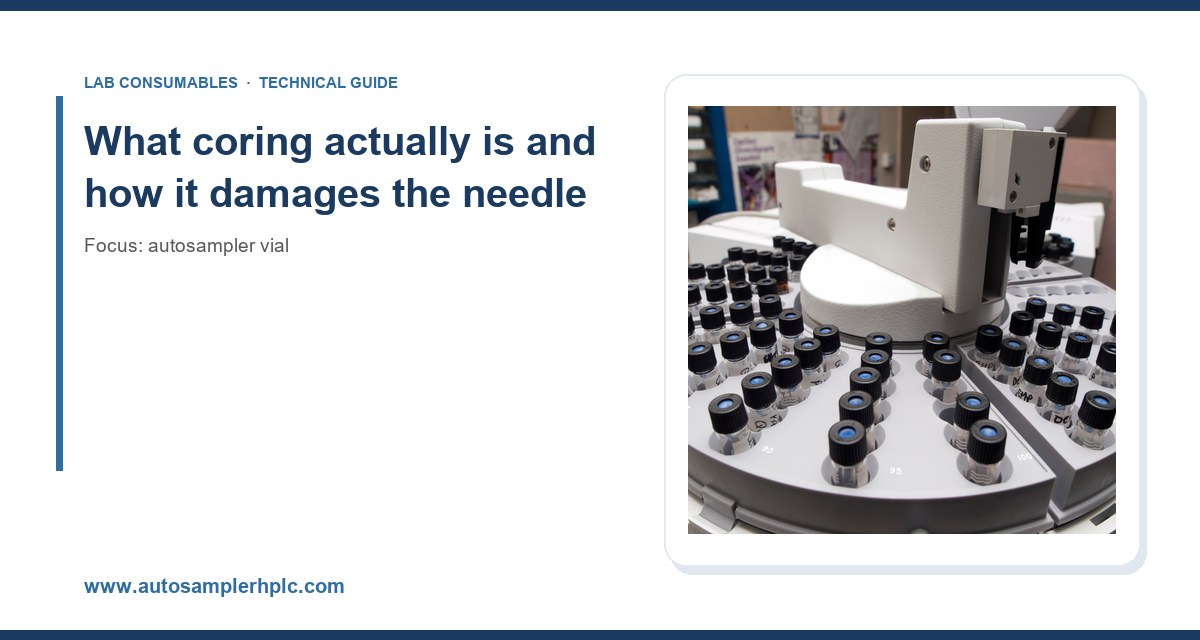
I lost a 1260 autosampler needle to a two-dollar vial last spring. The needle punched through a cheap unqualified septa, dragged a disc of silicone into the injection port, and bent on the seat. Replacement needle plus downtime plus the revalidation cost more than a year’s supply of properly qualified vials. That experience is why I now treat coring as a materials and alignment problem, not bad luck. This article walks through the mechanics of coring and needle damage, the specific vial and septa parameters that drive it, and the field checks that catch it before it costs you a needle.
Coring is the mechanical removal of a small disc of septum material by the injection needle. The needle is a hollow stainless tube, typically 23 gauge (0.64 mm OD) on most HPLC autosamplers and 23 to 26 gauge on GC systems. When it pierces a septum, it should part the elastomer and let it reseal. If the elastomer is too hard, too thin, or has been pierced too many times in the same spot, the needle punches a plug out instead of parting the material. That plug is the core.
The core itself is not the worst outcome. The worst outcome is what happens after. The loose disc travels down the needle bore, lodges in the injection port, or seats against the needle tip. On the next injection the needle meets that obstruction and deflects. A 23 gauge needle is stiff but not indestructible. Repeated deflection bends the tip, and a bent tip no longer seats cleanly in the port, so you get carryover, peak splitting, and eventually a hard fault on the autosampler.
I have seen three distinct failure modes in the field:
- Bore blockage: a core lodges in the needle bore. Partial injections, low response, and erratic peak areas. RSD% climbs from a normal 0.3 to 0.5% to 3 to 8%.
- Tip deflection: the needle hits a core seated in the port. The tip bends a few thousandths of an inch. You get partial injections and visible needle misalignment against the port.
- Septa fragmentation: the septum sheds material into the vial. Fragments float in the sample and get aspirated. This one is insidious because the instrument looks fine and the data does not.
The septa specifications that decide whether you core
Most coring problems trace to the septum, not the needle. Four parameters matter, and all four are specified on a competent datasheet.
Elastomer type and hardness
Silicone is soft and reseals well but tears easily and has poor chemical resistance. PTFE-faced silicone is the workhorse for HPLC: a 0.05 to 0.13 mm PTFE film bonded to a silicone layer. The PTFE face protects the sample from the silicone and gives the needle a clean entry surface. The silicone underneath provides the reseal. If the PTFE film is too thin (under about 0.05 mm), the needle breaks through it and the silicone cores. If the silicone is too hard (above about 50 Shore A), the needle struggles to part it.
For GC and headspace, you often see butyl or bromobutyl rubber, or a PTFE/silicone laminate. Butyl is harder and reseals well, but it cores more readily than silicone if the needle is blunt or misaligned. I specify PTFE/silicone for HPLC and a molded PTFE/silicone or butyl septum for GC, depending on the injection port temperature.
Thickness
Thickness controls how much material the needle has to part. A 3 mm thick septum takes more force to pierce than a 1.5 mm septum, and more force means more deflection and more coring risk. For standard 2 mL HPLC vials (12 x 32 mm, 9 mm neck), the septum is typically 1.0 to 1.5 mm thick. For 11 mm crimp GC vials, it is 1.0 to 2.0 mm. Do not overspec thickness. A 1.0 mm PTFE/silicone septum on a 9 mm screw cap is plenty for most HPLC work.
Puncture count and reseal life
This is the number nobody quotes and everybody needs. A good PTFE/silicone 9 mm septum survives 50 to 100 punctures in the same spot before it cores or leaks. Cheap septa core at 5 to 15 punctures. If your method injects the same vial ten times, you are inside the safe zone with a quality septum and outside it with a bargain one. If you inject 50 times from one vial, you need to plan for a fresh septum or accept the risk. I have measured reseal failure (visible leakage under 1 bar head pressure) at 12 punctures on an unqualified septum and at 80 punctures on a qualified one. That tenfold difference is the whole game.
Pre-slit and molded options
Pre-slit septa have a molded slit that opens for the needle and closes behind it. They reduce coring dramatically because the needle does not have to tear new material. The tradeoff is evaporation and contamination risk: a pre-slit septum is not a perfect seal. For short runs and volatile-free samples, pre-slit is a good choice. For long queues or volatile analytes, use a solid septum and accept the puncture count. For headspace work, always use a solid septum rated for the pressure; a pre-slit septum on a pressurized headspace vial will leak.
Needle geometry and alignment: the other half of the problem
You can buy the best septum in the world and still core it if the needle is misaligned or blunt. I check three things on every autosampler I commission.
Needle gauge and tip style
Standard HPLC autosampler needles are 23 gauge with a beveled or conical tip. A conical tip parts the septum more gently than a sharp bevel, which can slice. If your instrument allows a choice, a conical tip reduces coring. GC needles are often 23 to 26 gauge; finer needles core less because they displace less material, but they clog more easily. There is a tradeoff and you should match the needle to the septum, not the other way around.
Vertical alignment and penetration depth
The needle must enter the septum at 90 degrees and penetrate to a consistent depth. A needle that enters at an angle slices the septum and cores it. A needle that penetrates too deep can bottom out in the vial and bend. I set penetration depth so the needle tip sits 1 to 2 mm above the vial bottom at the aspiration point, and I verify it with a gauge or a visual check on a sacrificial vial. Most autosampler service manuals give a tolerance; hold to it.
Vial seating and cap torque
A vial that is not seated squarely in the tray presents the septum at an angle. A cap that is over-torqued deforms the septum and can push it off-center. For 9 mm screw caps, I torque to 0.5 to 0.8 N·m (about 4 to 7 inch-pounds). For 11 mm crimp caps, the crimper setting matters more than torque; a proper crimp leaves the septum flat and the cap skirt even. I have seen over-crimped vials core every single time because the septum was compressed into a dome that the needle hit at an angle.
The vial itself matters here too. A vial with a neck that is out of round, or a thread that does not match the cap, will not seat the septum flat. This is why I buy autosampler vial stock from a supplier who publishes neck dimensions and thread specs, and why I check a sample of every lot against a go/no-go gauge. A vial with a 9 mm neck that is 0.2 mm out of tolerance is enough to tilt the septum and start the coring cycle.
A field checklist for diagnosing coring and needle damage
When a customer calls me with erratic injections or a needle fault, I run this checklist in order. It takes about 20 minutes and it separates septum problems from alignment problems from instrument problems.
Step 1: Inspect the septum and needle under magnification
Pull the vial and look at the septum under a 10x loupe or a stereo microscope. A cored septum shows a clean punched hole with a missing disc, or a ragged tear. A needle that has been deflecting shows a bent or hooked tip. Photograph both. If the hole is clean and round and the needle is straight, the septum is too hard or too thin. If the hole is ragged and the needle is bent, you have an alignment problem.
Step 2: Check puncture count against the septum rating
Count how many times that vial position has been injected. If it is above the septum’s rated puncture count, replace the septum and re-run. If the problem disappears, you found it. If it persists, move to step 3.
Step 3: Verify penetration depth and alignment
Use the instrument’s service routine to move the needle to the injection position with a vial in place. Check that the needle is centered in the septum and enters at 90 degrees. Check penetration depth against the manual. Adjust and re-test.
Step 4: Check cap torque and crimp quality
For screw caps, check torque with a torque tester or a calibrated driver. For crimp caps, inspect the crimp: the skirt should be even, the septum flat, and the cap should not rotate freely. Re-crimp a sample and re-test.
Step 5: Swap septum lot and re-test
If steps 1 through 4 are clean, swap to a known-good septum lot. If the problem goes away, the original lot is out of spec. This happens more than suppliers admit. I have rejected three lots in five years for hardness and thickness out of tolerance.
Step 6: Inspect the injection port and needle seat
If a core has already traveled into the port, it will keep causing problems until it is removed. Flush the port, inspect the seat, and replace the needle if the tip is bent. Then re-run the checklist from step 1 to confirm the root cause is fixed.
Comparison: septum choices and their coring risk
Here is the decision table I use when specifying septa for a method. The numbers are from my own testing and from supplier datasheets, and they hold up in practice.
- PTFE/silicone, 1.0 mm, 9 mm screw: 50 to 100 punctures, low coring risk, good chemical resistance. Default for HPLC. Use for aqueous and most organic mobile phases.
- PTFE/silicone, 1.5 mm, 11 mm crimp: 40 to 80 punctures, low to moderate coring risk. Default for GC. Watch crimp quality.
- Pre-slit PTFE/silicone, 1.0 mm: 100+ punctures, lowest coring risk, but evaporation risk. Use for short runs and non-volatile analytes.
- Butyl rubber, 11 mm crimp: 30 to 60 punctures, moderate coring risk, excellent reseal. Use for GC with high port temperatures.
- Unqualified bargain septum: 5 to 15 punctures, high coring risk, inconsistent thickness. Do not use. The savings are illusory.
If you run headspace, the rules tighten. A headspace vial is pressurized during sampling, so the septum must hold pressure as well as resist coring. I specify a 20 mm crimp vial with a 3 mm thick PTFE/silicone septum rated to at least 2 bar, and I never use pre-slit septa under pressure. For GC autosamplers running liquid injections, a gc vial with a properly crimped 11 mm septum is the standard, and the crimp quality is the single biggest coring variable.
Operational precautions that prevent coring in the first place
Prevention is cheaper than diagnosis. These are the practices I insist on in my own lab and recommend to every customer.
Match septum to puncture count
If a method injects more than 30 times from one vial, use a pre-slit septum or plan a septum change mid-run. Do not exceed the rated puncture count. This one rule prevents most coring.
Control cap torque and crimp
Use a calibrated torque driver set to 0.5 to 0.8 N·m for 9 mm screw caps. For crimp caps, use a crimper with a depth stop and inspect the first five crimps of every session. A domed septum is a coring waiting to happen.
Verify needle alignment at every service
Add needle alignment and penetration depth to your preventive maintenance checklist. Check it after any tray or magazine change. A 0.5 mm misalignment is enough to start coring over a few hundred injections.
Use qualified vials and septa
Buy from a supplier who publishes dimensions, hardness, thickness, and puncture count. Check certificates of analysis. Run a lot-qualification test: inject 50 times from one vial with a known standard and check RSD% and peak shape. If RSD% climbs above 1% or you see a shoulder, the septum is failing.
Inspect and replace needles on a schedule
A needle is a consumable. I replace autosampler needles every 6 to 12 months depending on injection volume, or immediately after any coring event. A bent tip will core every septum it touches.
Instrument-specific notes
Coring behavior varies by autosampler design. On Agilent systems, the needle and septum interaction is well documented in their service literature, and their chromatography consumables catalog lists puncture ratings for their septa. Thermo autosamplers use a similar 23 gauge needle geometry, and their sample handling documentation covers penetration depth tolerances. For method development, the U.S. EPA SW-846 methods specify vial and septum requirements for environmental work, and Restek’s technical resources have good guidance on septum selection for GC. I cross-check my specifications against these sources before I sign off on a method.
Takeaway
Coring and needle damage are not random. They come from a specific set of decisions: septum hardness and thickness, puncture count, cap torque, and needle alignment. Get those right and you will not lose a needle to a two-dollar vial. Get them wrong and you will keep replacing needles and chasing RSD% that will not settle. The fix is a qualified septum with a published puncture count, a calibrated torque driver, and an alignment check on every service. That is the whole recipe.
References & further reading
Related resources from our lab consumables network:
- Autosampler Vial at autosamplerhplc.com
- Vial at vials-filters.com
- Headspace Vial at headspacevialsupplier.com
- Gc Vial at gcvialfactory.com
External references and standards: