
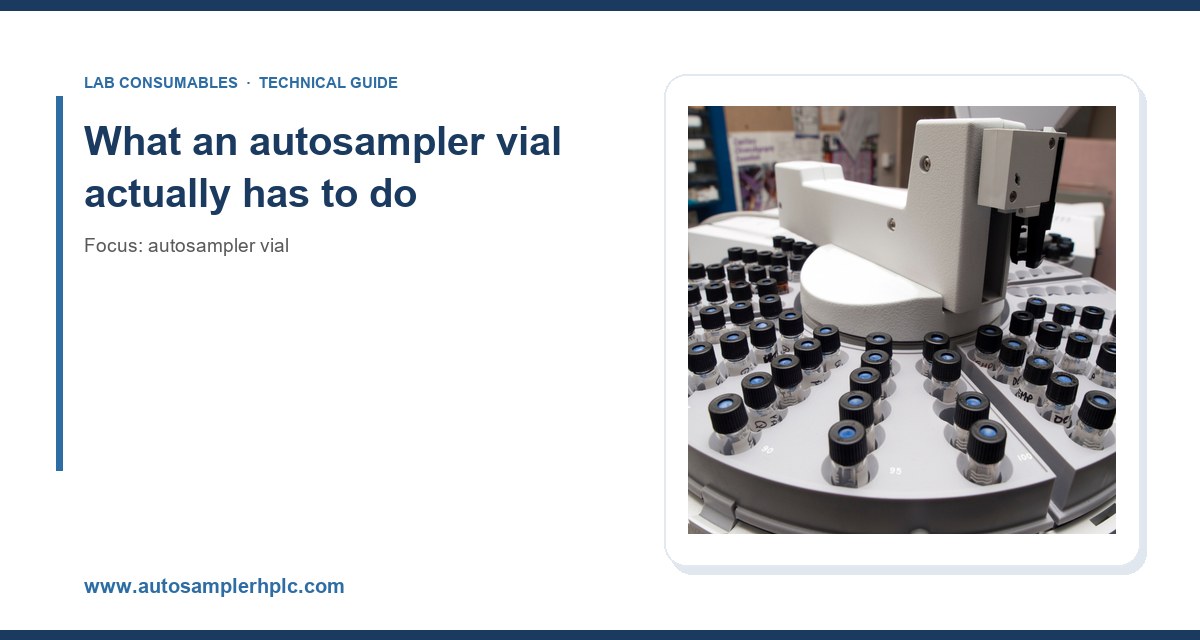
I have watched a lab save four cents per vial and lose a full day of instrument time to a single crimp that leaked. The vial is the cheapest component in an HPLC or GC workflow and the one most likely to end a run early. After fifteen years of specifying, stocking, and troubleshooting these parts, I can tell you the buying decision is mostly about septa, dimensions, and closure mechanics, not brand loyalty. This guide covers what actually matters when you choose an autosampler vial, with the numbers I use at the bench and in purchase orders.
A vial has four jobs: hold a defined volume, keep the sample from changing, present a septum to the needle at a repeatable height, and survive the temperature and pressure of the run. Every specification you will read on a datasheet maps to one of those four jobs. When a run fails, it is almost always because one of them was compromised by a mismatch between vial, cap, and instrument.
The needle is the part people forget. A standard HPLC autosampler needle is roughly 0.5 mm outside diameter (22 gauge) with a piercing tip; some systems use a blunt or side-port needle. Each injection drives that needle through the septum. A typical method runs 20 to 200 injections per vial position, and a busy sequence can push a single septum past 100 punctures in a day. The septum has to reseal after each one. That resealing behavior, not the glass, is where most sample loss and carryover originate.
The three closure formats and when each one fits
Almost every autosampler vial on the market is one of three closure types. Get this decision right first; everything else (glass grade, volume, label) is secondary.
Crimp-top vials
Crimp vials use an aluminum seal compressed onto the glass neck with a hand or pneumatic crimper. The seal is a one-way closure: once crimped, it stays put until you tear it off. I default to crimp for volatile work and for long unattended sequences because the seal is the most gas-tight option and the septum cannot back out under pressure.
The catch is the crimper. A poorly adjusted crimper gives you a seal that looks fine and leaks. Set the crimping height with a gauge, not by feel. For a standard 11 mm crimp, the correct crimp diameter is about 11.0 to 11.2 mm at the top and the skirt should sit flat against the vial shoulder with no rocking. Aluminum thickness matters too: 0.25 mm seals crimp cleanly and tear off easily; very thin seals (0.20 mm) deform and leak at the seal-to-neck interface. Magnetic crimp caps (used on some CTC and Gerstel systems) add a steel insert and must match the tray magnet geometry exactly.
Screw-top vials
Screw caps are the workhorse for HPLC and for any lab that does not want to own a crimper. A 9 mm short-thread screw cap on a 12 x 32 mm vial is the most common HPLC format in the world. The advantage is obvious: no tooling, resealable, and you can re-open a vial to add internal standard or dilute.
The failure mode is under-torquing. A screw cap that is finger-tight but not torqued will vent solvent vapor and shift retention times over a long sequence. I specify a torque of 0.9 to 1.2 N·m for 9 mm screw caps, applied with a torque wrench or a calibrated capper. Over-torquing is just as bad: past about 1.5 N·m the septum deforms into a dome and the needle can core it. Short-thread and long-thread caps are not interchangeable; a long-thread cap on a short-thread vial will not seat and will leak.
Snap or press-fit caps
Snap caps are fast and cheap and fine for aqueous, non-volatile samples on short runs. They are the weakest seal of the three. I do not use them for anything containing more than a few percent organic solvent, and never for headspace. If your method involves acetonitrile or methanol sitting in the autosampler tray for six hours, snap caps will lose you peak area reproducibility.
Glass: the specification buyers skip
Two vials can have identical dimensions and behave completely differently because of the glass. The relevant grade is Type I borosilicate (borosilicate 3.3, USP Type I). It has low extractables, resists pH extremes, and does not shed alkali into the sample. Type II (soda-lime, surface-treated) and Type III (soda-lime) glass are cheaper and will leach sodium and other ions into aqueous samples, which shows up as baseline drift and stray peaks in ion chromatography and LC-MS.
For trace analysis, specify deactivated glass. Untreated borosilicate has surface silanols that adsorb basic compounds, peptides, and proteins. A deactivated (silanized) surface reduces that adsorption and improves recovery of polar analytes at low concentrations. If you are running LC-MS at the low ng/mL level and seeing poor recovery of amines, the vial is a suspect before the column is.
Amber glass blocks light below about 500 nm and protects photosensitive compounds (vitamins, some antibiotics, many natural products). Use it whenever the method says protect from light. Clear glass lets you see the sample and check for particulates, which matters during method development.
A working decision table
Here is the checklist I hand to new buyers. The numbers are the ones I have validated across Agilent, Waters, Shimadzu, and Thermo autosamplers.
- HPLC, standard reverse-phase, aqueous to moderate organic: 12 x 32 mm, 9 mm short-thread screw, clear Type I glass, silicone/PTFE septum, 0.9 to 1.2 N·m torque. Volume 1.5 mL (2 mL nominal).
- HPLC, volatile or long unattended runs: 11 mm crimp, silicone/PTFE or butyl/PTFE septum, crimp diameter 11.0 to 11.2 mm. Better gas-tight seal than screw.
- LC-MS, polar or basic analytes at trace level: deactivated Type I glass, PTFE-lined silicone septum, avoid rubber that sheds plasticizers.
- GC liquid injection: 2 mL crimp or screw vial matched to the injector tower; septum choice driven by inlet temperature (see below).
- Headspace GC: dedicated 10 mL or 20 mL headspace vial, 20 mm crimp, butyl or PTFE-faced septum rated for the oven temperature, crimped with a 20 mm crimper set to the correct height.
- Photosensitive samples: amber glass in whichever format above applies.
If you only stock one format, make it the 12 x 32 mm, 9 mm screw, clear Type I with silicone/PTFE septum. It covers the largest share of HPLC work and is the easiest to source. For the full catalog of formats and volumes, see our autosampler vial range, and for matched caps and filters see the vial selection at vials-filters.com.
Septum selection by temperature and chemistry
The septum is the most consequential part of the vial and the one buyers downgrade to save money. Do not. A septum has to reseal after every needle puncture, resist the sample chemistry, and hold up at the injector or oven temperature. Here are the grades I use and their limits.
Silicone/PTFE
A silicone core with a PTFE face on the sample side. The PTFE gives excellent chemical inertness (it resists almost every solvent) and the silicone gives good resealing. Rated to about 200 °C for short exposures. This is my default for HPLC and most GC liquid injection. The PTFE face must be oriented toward the sample; install it backwards and you lose the inertness benefit.
PTFE/silicone with a slit or pre-slit
A pre-slit septum has a small cut that lets the needle pass with less coring and reduces the force needed to pierce. Good for high-puncture-count sequences and for instruments with delicate needles. The trade-off is slightly worse gas retention; do not use pre-slit septa for headspace or long volatile runs.
Butyl/rubber
Butyl has low gas permeability, which is why it is the headspace standard. It is less chemically inert than silicone and swells with some hydrocarbons. Use it for headspace and for GC where you need to hold a volatile analyte in the vial. Temperature limit is around 120 to 150 °C depending on grade.
What goes wrong
Coring is the classic failure: the needle punches a plug of septum into the vial, which then blocks the needle or shows up as a ghost peak. It happens with blunt needles, with worn septa, and with over-torqued screw caps that dome the septum. If you see a new peak that appears only after many injections on the same vial, suspect coring before you suspect contamination. Replace the septum or the whole cap.
For GC work specifically, septum bleed at high inlet temperatures is a real source of baseline noise. At 250 to 300 °C inlet temperatures, a low-grade septum bleeds siloxanes that elute as a rising baseline or as discrete peaks. Buy a septum rated above your inlet temperature with margin. Our GC vial line is specified by inlet temperature for exactly this reason.
Headspace and GC vials are a different animal
Headspace vials are larger (commonly 10 mL and 20 mL), use a 20 mm crimp, and are heated in an oven, so the septum and seal see sustained temperature and internal pressure. A 20 mm crimp must be set with a dedicated crimper and checked with a go/no-go gauge; a loose 20 mm seal will vent and you will lose the volatile you are trying to measure. Butyl septa are standard; PTFE-faced butyl gives better inertness for polar volatiles.
Do not substitute an HPLC screw vial for a headspace vial. The volumes and pressure ratings are wrong, and the screw closure will not hold at headspace oven temperatures. For the dedicated formats, see the headspace vial catalog. For GC liquid injection, the vial and septum must match the injector tower and the inlet temperature, which is a different specification from HPLC.
Matching the vial to the autosampler
Vials are nominally standardized but the tray geometry is not. Before you buy 10,000 units, confirm three things against your instrument manual:
- Vial dimensions: 12 x 32 mm is the HPLC standard; 11.6 x 32 mm and other near-misses exist and will jam a tray. Measure a sample with calipers if the datasheet is vague.
- Closure height: a crimp seal adds about 1 mm to the top of the vial; a screw cap adds a similar amount. A tray set for one will not reliably pick the other.
- Needle depth: the autosampler draws from a fixed height above the tray floor. A vial that is 1 mm short leaves sample behind; one that is 1 mm tall can bend the needle.
Most major vendors publish the exact vial and cap part numbers their instruments are validated with. Agilent lists its chromatography consumables and columns with dimensional drawings, and Thermo Fisher’s chromatography and sample handling pages give the same for their autosamplers. Cross-check the drawing against your tray before committing to a bulk order.
Volume, fill level, and the numbers that matter
A “2 mL” vial holds about 1.5 mL usable. The autosampler needle needs a minimum volume to draw from, and the septum needs headspace so the needle does not hit liquid. A practical fill is 0.5 to 1.0 mL for a 2 mL vial: enough for many injections, enough headspace to avoid overpressure, and low enough that the needle stays in the liquid. Overfilling a crimp vial and then heating it will push liquid past the septum.
For micro-volume work, use inserts. A 250 µL or 150 µL glass insert in a 2 mL vial lets you run a 50 µL sample without the needle drawing air. Inserts must be matched to the vial (conical bottom, correct outer diameter) or they tilt and the needle misses. If you are running LC-MS with limited sample, an insert is cheaper than re-preparing the sample.
Contamination and cleanliness: what “clean” means
Vials are sold as “clean” and “certified” and the words are not regulated. For trace LC-MS work, ask for vials certified for low extractables and check the certificate. I have seen background peaks at m/z values matching plasticizers and mold-release agents from caps stored in the wrong bag. Buy vials in clean packaging, keep them sealed until use, and never store caps loose in a drawer with other lab consumables.
Do not wash and reuse vials for trace work. The cost of a vial is a few cents; the cost of a contaminated sequence is a day. Reuse only for non-critical, high-concentration work, and even then inspect for scratches and cracks at the neck, which is where vials fail under crimp pressure.
Operational precautions at the bench
- Crimp with a gauge, not by feel. Check the crimper every shift; a dropped crimper goes out of adjustment.
- Torque screw caps to 0.9 to 1.2 N·m. A torque wrench is cheap compared with a re-run.
- Orient PTFE-faced septa toward the sample. Mark the cap if the orientation is ambiguous.
- Do not pre-pierce septa unless the method calls for it; a pre-pierced septum reseals worse.
- Keep septa out of direct sunlight and heat. Rubber degrades in storage and a degraded septum cores.
- Match the septum to the inlet or oven temperature with margin. A 200 °C septum in a 280 °C inlet will bleed.
- Label with solvent-resistant markers and place labels below the fill line so the autosampler sensor reads the vial correctly.
Troubleshooting checklist
When a run misbehaves, work through this list before you touch the column.
- Peak area RSD above 2%: check cap torque and septum resealing first. A leaking closure loses volatile solvent and concentrates the sample.
- Ghost peaks appearing late in a sequence: suspect coring or septum bleed. Replace the cap, re-run.
- Retention time drift over hours: under-torqued screw caps or a worn crimper letting solvent evaporate.
- Low recovery of polar or basic analytes: untreated glass adsorbing the analyte. Switch to deactivated vials.
- Needle bending or “no sample” errors: vial height mismatch or a tilted insert. Check dimensions against the tray spec.
- Baseline noise rising at high inlet temperature: septum bleed. Use a higher-rated septum.
- Headspace results low and variable: loose 20 mm crimp venting. Re-crimp with a gauge.
Restek’s technical resources have good reference material on septum bleed and inlet maintenance that pairs well with this checklist. For regulated work, the method itself often dictates the vial and closure; the U.S. EPA SW-846 test methods specify sample container and preservation requirements that your vial choice has to meet, and USP <381> covers container and closure standards for compendial work.
Buying: what to put in the specification
A purchase order for vials should read like a method, not a wish list. I specify all of the following so there is no ambiguity at receiving:
- Dimensions (e.g., 12 x 32 mm) and volume.
- Glass grade (USP Type I borosilicate 3.3), color (clear or amber), deactivated or not.
- Closure type and size (9 mm short-thread screw, 11 mm crimp, 20 mm crimp).
- Septum material and temperature rating (e.g., silicone/PTFE, 200 °C).
- Certification (low extractables, dimensional certificate) if the method requires it.
- Packaging (clean room bagged, quantity per bag).
Buy from a supplier who will send a dimensional drawing and a certificate, and who stocks the caps and septa as separate line items so you can replace a worn septum without scrapping the vial. Standardization matters more than the last percent of price. Pick one format per workflow, document it, and keep a second source qualified. The autosampler vial catalog and the vial range are organized by format and closure so you can match the specification directly.
Takeaway
Choose the closure first (crimp for volatile and long runs, screw for HPLC flexibility, snap only for benign short runs), then specify Type I borosilicate glass with deactivation for trace polar analytes, then pick a septum rated above your operating temperature with margin. Torque screw caps to 0.9 to 1.2 N·m, crimp to a measured 11.0 to 11.2 mm for 11 mm seals, and check the vial dimensions against your tray before any bulk order. The vial is the cheapest part in the workflow and the one most likely to cost you a sequence; treat its specification with the same rigor as the column, and the instrument time you save will pay for the difference many times over.
References & further reading
Related resources from our lab consumables network:
- Autosampler Vial at autosamplerhplc.com
- Vial at vials-filters.com
- Headspace Vial at headspacevialsupplier.com
- Gc Vial at gcvialfactory.com
External references and standards: