
I have watched a lab lose three weeks of method development because a buyer saved 40 cents per vial. The septa were a generic silicone formulation, the autosampler needle coring left rubber fragments in the sample, and the HPLC kept throwing pressure spikes at injection 47. Nobody connected the vial to the problem until we sectioned a septum under a microscope and saw the needle track. That is the whole argument for this guide: the autosampler vial is the first and most frequently touched component in the analytical chain, and it is also the cheapest place to introduce a systematic error you will spend real money chasing.
Below is how I evaluate vials as both a buyer and an operator, with the dimensions, temperature ratings, and material specs that actually matter, the failure modes I have dealt with personally, and a decision checklist you can hand to a procurement team.
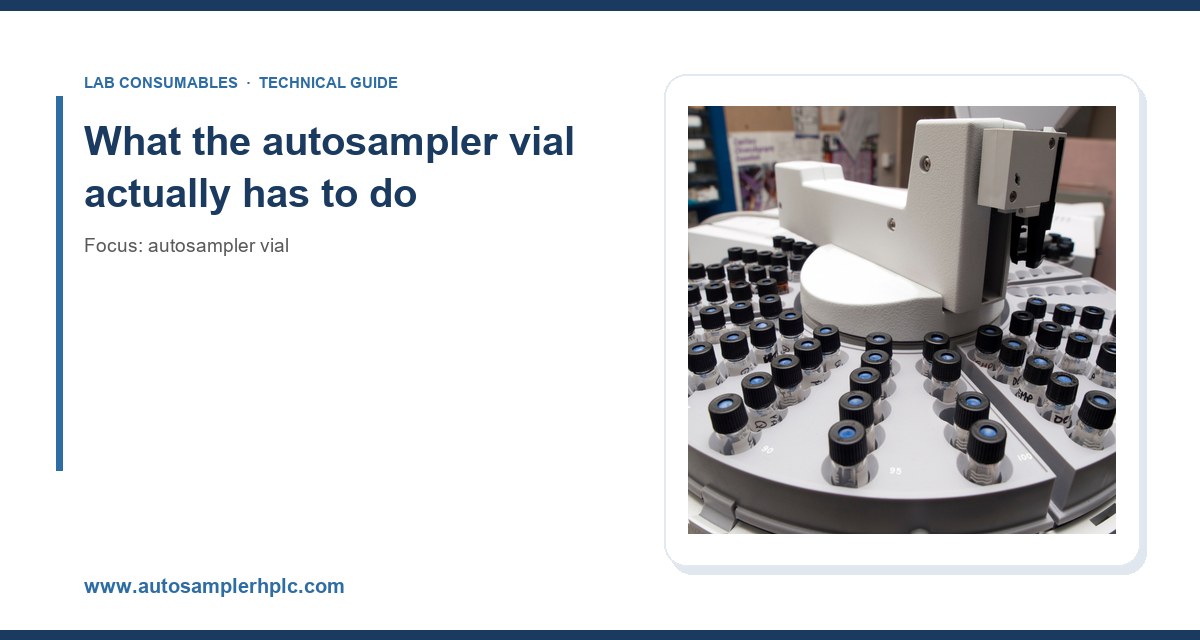
A standard autosampler vial is a 12 x 32 mm borosilicate glass cylinder with a crimp or screw neck, closed by a septum held in a cap. That is the physical description. The functional job is harder than it looks. The vial must hold a fixed, known volume; present a septum at a consistent height and durometer so the needle penetrates cleanly; resist the solvent in the sample; survive the temperature of the tray or oven; and not shed particles, extractables, or adsorbed analyte into a 1 mL sample.
Every one of those requirements maps to a spec you can buy against. The trick is knowing which specs your workflow actually stresses. A vial that is perfect for a 4 °C HPLC tray at 5 injections an hour is wrong for a headspace oven at 200 °C or a GC inlet where the same septum sees 100 punctures.
The dimensional standards you should buy against
Almost every autosampler on the market is built around a small set of dimensional conventions. Get these wrong and the tray will jam or the needle will miss the septum center.
12 x 32 mm: the workhorse format
The 12 x 32 mm vial (12 mm outside diameter, 32 mm height) is the default for HPLC autosamplers from Agilent, Waters, Shimadzu, Thermo, and most others. It holds a nominal 1.5 mL to 2.0 mL depending on neck style and fill height, with a usable working volume of roughly 1.0 to 1.5 mL. Buy these in the widest variety and the deepest discount because they are the volume commodity.
Screw thread vs crimp
Screw-top vials use a 9 mm thread (the 9-425 standard is the most common), while crimp vials use a 11 mm aluminum seal. Screw tops are easier to cap by hand, reseal, and automate, and they are what I recommend for most modern labs. Crimp vials give a more consistent seal and lower headspace, which matters for volatile analytes and for headspace GC. The tradeoff is that crimping is a skill: an over-crimped cap deforms the septum and an under-crimped cap leaks. If you go crimp, buy a calibrated crimper and check seal integrity on a sample of every batch.
Neck finish and the GPI reference
The thread on a screw vial is specified under the GPI (Glass Packaging Institute) finish system. A 9-425 finish means a 9 mm thread diameter with a 425-style thread profile. When you buy caps, match the GPI finish exactly. A cap sold as “9 mm” but cut to a different thread pitch will cross-thread, and a cross-threaded cap is a leak you will not see until the autosampler draws air. This is a real procurement trap when sourcing from multiple suppliers.
Micro-volume and large-volume formats
For limited sample, 6 x 32 mm and 8 x 30 mm micro-vials hold 150 to 300 µL and are common in LC-MS work where you have 20 µL of precious extract. They need a matching insert or a low-volume tray adapter. At the other end, 15 x 45 mm and 16 x 100 mm vials are used for fraction collection and for some GC autosamplers. Do not assume your tray accepts them without checking the autosampler’s vial plate drawing.
Glass: why borosilicate is not optional
I have seen soda-lime vials used to save money, and I have seen the consequences. Soda-lime glass leaches sodium and calcium and has a higher coefficient of thermal expansion, so it cracks under crimping stress and in freeze-thaw cycles. For analytical work, specify Type I borosilicate glass (USP <660>) with low extractables. The two grades you will encounter are:
- Clear borosilicate: the default. Good for visual inspection of sample and for most UV detection above 300 nm.
- Amber borosilicate: for light-sensitive analytes (vitamins, some pharmaceuticals, certain pesticides). Amber glass blocks most of the UV range below about 500 nm but not all visible light, so do not treat it as a darkroom.
Ask your supplier for the hydrolytic resistance class. Type I is the top class and is what you want for trace analysis, ion chromatography, and anything where a sodium or potassium baseline drift would ruin the run.
Septa: the component that decides your data quality
If the vial is the container, the septum is the seal, and the septum is where most problems originate. A septum has to be soft enough for the needle to penetrate without coring, hard enough to reseal after withdrawal, and chemically inert to the sample. Those goals conflict, which is why there are several formulations and why you should not buy a single septum type for every method.
Silicone
Soft, excellent resealing, low cost. The problem is extractables: standard silicone can shed oligomers and can adsorb hydrophobic analytes. Use it for aqueous samples and short runs, not for trace hydrophobic work or LC-MS.
Silicone with PTFE facing
A PTFE film on the sample side gives a chemically inert barrier and reduces extractables dramatically. This is my default for HPLC and LC-MS. The PTFE face is thin, though, and a dull or misaligned needle will punch through it and leave a flap that blocks the next injection. Inspect needles on schedule.
Butyl and bromobutyl rubber
Low gas permeability, good for headspace and for samples that must exclude oxygen or moisture. Butyl is the standard for pharmaceutical headspace work. It is harder than silicone, so it needs a sharp needle and a slower penetration.
Laminated and pre-slit septa
A pre-slit septum has a small slit cut through it so the needle does not have to tear the material. This extends septum life in high-puncture-count workflows and reduces coring. The tradeoff is a slightly higher risk of evaporation from the slit over long tray residence times. For a run that sits overnight, weigh the evaporation loss against the coring risk.
Puncture count and temperature rating
Here are the numbers I work to. These are conservative, field-tested figures, not marketing claims:
- Standard silicone/PTFE septum: about 50 to 100 punctures before reseal performance degrades; rated to about 100 °C continuous.
- Pre-slit silicone/PTFE: 100 to 200 punctures; same temperature ceiling.
- Butyl rubber: 50 to 80 punctures; rated to about 120 °C.
- High-temperature silicone: rated to 200 °C for short headspace cycles; puncture life drops sharply above 150 °C.
If your autosampler runs the same vial for 200 injections, you need pre-slit septa or you need to change vials mid-run. There is no septum that stays leak-free indefinitely at 200 punctures without pre-slitting.
Matching the vial to the workflow
This is the part buyers get wrong most often: they standardize on one vial across the whole lab. Different techniques stress different properties. Here is how I segment it.
HPLC and UHPLC
Use 12 x 32 mm clear borosilicate screw vials with silicone/PTFE septa, 9-425 finish. Working volume 1.0 to 1.5 mL. This is the commodity buy. Watch for autosampler needle height: if the needle draws from the bottom, a vial with an internal cone or a pulled bottom lets you recover the last 100 µL. Flat-bottom vials leave more dead volume.
LC-MS
Extractables are the enemy here because they ionize. Use the highest-purity borosilicate and PTFE-faced septa, and consider silanized glass if your analytes adsorb to silanol groups. Run a blank injection of mobile phase in a fresh vial from each lot before you commit a batch to the method. A single lot of contaminated vials can produce a persistent background ion that takes a day to trace.
GC and headspace
For direct GC injection, use a dedicated GC vial matched to your inlet and autosampler. For headspace, use a headspace vial with a butyl or high-temperature septum and a crimp seal. Headspace vials are usually 20 mL with a 20 mm crimp finish, and the crimp must be set to a consistent torque so the seal holds at 200 °C. I check crimp height with a gauge on every new lot; a variation of more than about 0.2 mm in crimp height is enough to cause leaks at temperature.
When you need a different container
Not every sample belongs in a round vial. If you are filtering, storing, or shipping, look at the wider range of vials and filters available for sample prep, and match the filter membrane to the solvent (PTFE for aggressive organics, nylon for aqueous, PVDF for protein work).
Comparison checklist: vial selection by application
Use this table as a starting point. Adjust for your specific autosampler’s tray drawing and your method’s detection limits.
- Routine HPLC: 12 x 32 mm clear borosilicate, 9-425 screw, silicone/PTFE septum, 1.5 mL, 100 °C max, 50-100 punctures.
- LC-MS trace work: 12 x 32 mm high-purity borosilicate, 9-425 screw, PTFE-faced septum, silanized option, 1.0 mL working volume, run blank per lot.
- Headspace GC: 20 mL clear borosilicate, 20 mm crimp, butyl septum, 120 °C, crimp height checked to 0.2 mm.
- Light-sensitive analytes: amber borosilicate, same septum as base method, store in dark tray.
- Limited sample: 6 x 32 mm micro-vial with insert, 150-300 µL, low-volume tray adapter required.
- High puncture count: pre-slit silicone/PTFE, 100-200 punctures, replace at 150 as a rule.
Procurement: what to put in the purchase order
Vague POs get you whatever the distributor has on the shelf. Be specific. I write these into every vial PO:
- Glass type and hydrolytic class (Type I borosilicate, USP <660>).
- Dimensions to the millimeter (12 x 32 mm) and GPI finish (9-425).
- Septum formulation and facing (silicone/PTFE, sample side facing).
- Temperature rating and puncture count per your method.
- Lot traceability and a certificate of analysis.
- Packaging: vials and caps shipped separately or pre-assembled, and whether caps are loose or torqued.
Ask for a sample lot and run it against your current supplier before you switch. I have saved real money by qualifying a second source, and I have also rejected a cheaper lot because the septa were 0.3 mm thinner and the autosampler needle height was calibrated for the thicker ones.
Operational precautions that prevent most failures
Most vial failures I have investigated were not manufacturing defects. They were handling errors. The ones that bite most often:
Do not over-torque screw caps
Hand-tight is enough. A screw cap torqued hard deforms the septum and can crack the neck. For automated cappers, set the torque to the cap manufacturer’s spec, typically in the 0.5 to 1.0 N·m range for 9 mm caps, and verify with a torque tester on a sample of each batch. Over-torquing is the single most common cause of septum coring I see.
Keep the needle sharp and centered
A dull needle tears rather than pierces, and a needle that is off-center punches the septum edge where the material is thin. Check needle alignment against the vial center on a monthly schedule, and replace needles at the manufacturer’s recommended injection count (often 1,000 to 5,000 injections depending on matrix).
Control fill height and headspace
Fill to a consistent height. Too little sample and the needle may not reach it; too much and you risk overflow into the septum and cross-contamination. For headspace, the headspace-to-sample ratio is part of the method, so fill to a marked line, not “about a milliliter.”
Mind the tray temperature
A cooled tray at 4 °C condenses moisture on vial exteriors and can wick into the septum. A tray at 40 °C accelerates evaporation through a pre-slit septum. Match septum choice to tray temperature, and cap vials as soon as they are filled.
Troubleshooting checklist
When results go wrong and you suspect the vial, work through this list in order. It has saved me more time than any instrument manual.
- Pressure spikes or baseline noise on HPLC: check for septum fragments in the sample; inspect the needle and the vial septum under magnification.
- Ghost peaks or rising background on LC-MS: run a blank from a fresh lot; compare extractables between current and previous lot.
- Leaks or low recovery on headspace: check crimp height (0.2 mm tolerance), septum temperature rating, and cap torque.
- Needle misses or tray jams: verify vial dimensions and tray adapter; a 0.5 mm diameter difference is enough to jam.
- Evaporation or concentration drift over a long run: switch from pre-slit to solid septum, or cap and re-cap between runs.
- Adsorption of hydrophobic analytes: move to silanized glass or a PTFE-faced septum; check for a glass surface effect with a control.
- Coring and particle shedding: replace the needle, reduce cap torque, and consider pre-slit septa for high puncture counts.
Where to get independent data
Do not take a supplier’s word for extractables or temperature performance. Cross-check against method compendia and manufacturer technical notes. The U.S. EPA SW-846 test methods specify sample container and preservation requirements for environmental work. Agilent’s chromatography consumables documentation and Thermo Fisher’s sample handling resources publish vial and septum compatibility tables worth reading before you write a spec. Restek’s technical resources are good on septum selection and inlet maintenance. For regulated work, USP <660> and <661> define glass and container requirements, and AOAC methods often specify container type for specific assays.
My recommendation
Standardize on 12 x 32 mm Type I borosilicate screw vials with 9-425 GPI finish and silicone/PTFE septa for HPLC and LC-MS, and keep a separate qualified stock of 20 mL crimp headspace vials with butyl septa for GC headspace. Buy pre-slit septa for any method that runs more than 100 injections per vial. Write the glass class, GPI finish, septum formulation, temperature rating, and puncture count into the PO, and qualify every new lot with a blank injection before it enters the method. Check cap torque to 0.5 to 1.0 N·m and crimp height to 0.2 mm. That combination covers the large majority of analytical workflows, and the discipline of qualifying each lot is what keeps a 40-cent component from costing you three weeks.
References & further reading
Related resources from our lab consumables network:
- Autosampler Vial at autosamplerhplc.com
- Vial at vials-filters.com
- Headspace Vial at headspacevialsupplier.com
- Gc Vial at gcvialfactory.com
External references and standards: