
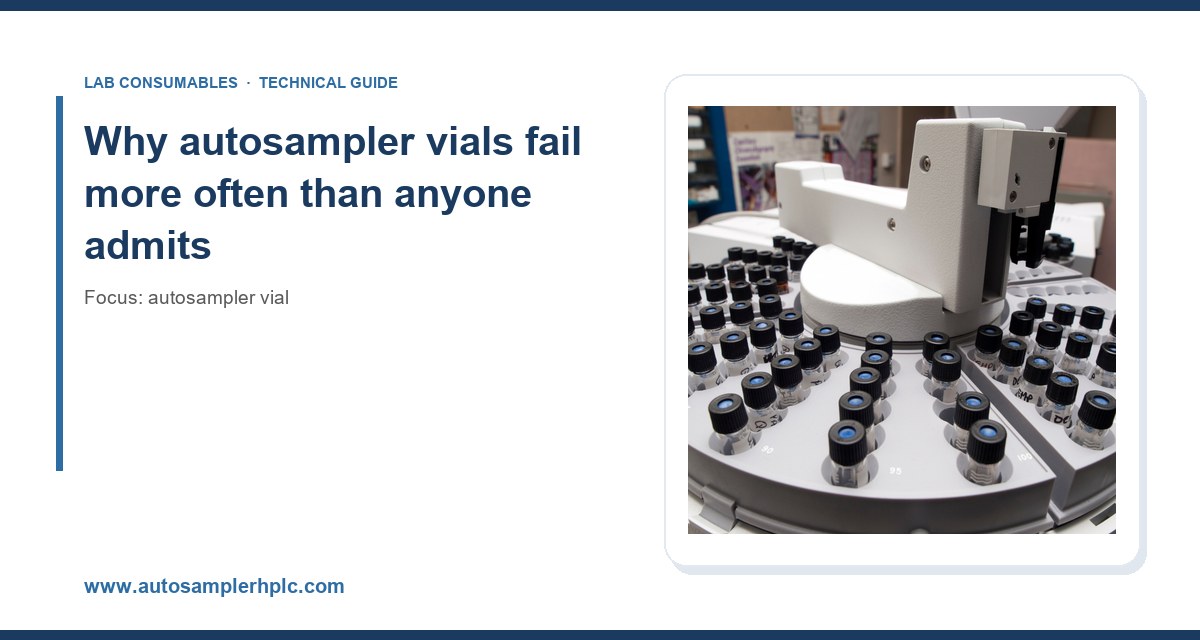
I have watched a lab spend three days chasing a “bad column” that turned out to be a vial with a 0.4 mm septum puncture that had re-sealed badly and was letting air into every third injection. The chromatography was fine. The autosampler was fine. The vial was the problem, and nobody had looked at it because vials are cheap and boring and assumed to be innocent. In twenty years of running consumables through HPLC and GC benches, I can tell you that the majority of “instrument problems” that walk in the door are actually vial problems wearing a disguise. This article is the field guide I wish every new analyst got on day one.
An autosampler vial is a small pressure vessel, a chemical container, and a mechanical interface all at once. It holds between 100 and 2000 microliters of liquid, gets pierced by a needle that may be 0.5 mm in outer diameter, sits in a tray where the carousel tolerance is often plus or minus 0.2 mm, and may be heated to 40 °C or cooled to 4 °C depending on the tray. Every one of those functions has a failure mode, and they compound. A septum that cores slightly will shed a fragment into the sample. A cap that is not crimped squarely will let the vial sit 0.3 mm too high and the needle will hit the cap skirt instead of the septum center. A glass vial with a scratched neck will crack under crimping torque and leak invisibly until the run fails at hour six.
The reason these failures are underreported is that they present as data problems, not hardware problems. Peak area RSD climbs from 0.8% to 3.5% and the analyst blames the pump. A ghost peak shows up at 4.2 minutes and the analyst blames the mobile phase. A carryover spike appears and the analyst blames the needle. I have run the same sample through three vial types side by side and watched RSD drop from 4.1% to 0.6% by changing nothing but the cap. That is the kind of test every lab should run once a year, and almost none do.
If you are buying vials by the case and never auditing them, start with a proper autosampler vial specification that matches your instrument’s tray geometry. The wrong vial dimension is the single most common root cause I see, and it is entirely preventable at the purchasing stage.
The seven failures I see most, ranked by frequency
1. Septum coring and the resulting ghost peaks
A silicone/PTFE septum is designed to be pierced a finite number of times. The standard 9 mm septum on a crimp or screw cap is rated for roughly 3 to 5 punctures before the silicone layer starts to tear. Most labs run their samples once, which is fine, but then they re-inject from the same vial after a dilution, then again after a re-run request, and by the fourth or fifth needle pass the septum has a ragged hole that sheds silicone particles into the sample. Those particles are hydrophobic, they collect at the needle tip, and they show up as a broad hump at the solvent front or as random spikes.
The fix is discipline, not hardware. Cap the number of injections per vial at three, and use a fresh vial for any re-run that matters. If you must re-inject, use a pre-slit septum cap, which is rated for higher puncture counts (typically 8 to 10) because the slit gives the needle a path instead of tearing new material. Pre-slit caps cost about 15% more and pay for themselves in fewer failed runs.
2. Cap loosening and evaporation loss
Screw-thread vials with a 9 mm thread are supposed to be finger-tight, and “finger-tight” is a phrase that means nothing to a robot. I have measured torque on hand-crimped screw caps and found a range from 0.4 N·m to 2.1 N·m across four analysts on the same bench. Caps below 0.8 N·m leak. Caps above 1.8 N·m crack the neck on thin-wall glass. The target for a 9 mm screw cap on a standard 12 x 32 mm vial is 1.0 to 1.4 N·m, and a torque screwdriver costs less than a single failed sequence.
Evaporation is the silent killer. A 2 mL vial filled with 1 mL of acetonitrile left on a tray at 22 °C for 8 hours in a loosely capped vial will lose measurable volume, and the concentration of your analyte climbs. If your internal standard response drifts up by 4% over a long sequence, check your caps before you check your detector.
3. Vial dimension mismatch with the tray
This is the one that generates the most 3 a.m. phone calls. The industry standard footprint is 12 x 32 mm for a 2 mL vial, but there are variants: 11 mm, 12 x 32 mm short-neck, and the 6 x 32 mm microvials that sit inside a larger insert. Put a short-neck vial in a tray designed for a long-neck and the needle either misses the septum or drives too deep and bottoms out on the glass. Put a 12 mm vial in an 11 mm position and the gripper drops it.
Every instrument has a specified vial geometry. Agilent’s autosampler documentation lists the exact dimensions for each tray type, and their chromatography consumables and column reference pages are worth bookmarking for the dimensional tables alone. Thermo Fisher’s chromatography and sample handling resources do the same for their platforms. Do not guess. Measure.
4. Glass breakage at the crimp or in the tray
Crimp vials fail at the neck when the crimper is misadjusted. A proper crimp on an 11 mm aluminum seal produces a skirt that is even all the way around and sits flush with the cap top. A bad crimp is visibly tilted, and the vial will either leak or crack within the run. I have seen crimpers that were never recalibrated in five years produce a 6% breakage rate. That is 60 broken vials per thousand, and every one is a lost sample.
Check your crimper monthly with a go/no-go gauge. The crimp height for an 11 mm seal should be 5.5 to 5.8 mm from the vial shoulder to the top of the seal. Anything outside that band is a reject.
5. Adsorption of analytes on glass
Some compounds stick to borosilicate glass. Basic drugs, peptides, and certain pesticides will adsorb onto the silanol groups on the inner surface, and the first injection from a fresh vial reads low because the glass has eaten part of your sample. The effect is worst at low concentrations (below 10 ng/mL) and worst in aqueous mobile phases. The fix is to use deactivated glass vials, which are silanized to cap the active sites, or to add a small amount of organic modifier. Deactivated vials cost roughly double, but if you are running sub-ppb work they are not optional.
6. Particulate contamination from caps and septa
Cheap septa shed. The silicone layer on a low-grade septum can release fine particles that end up in the needle and then in the column frit. I have pulled frits that were plugged with what looked like grey sludge and turned out to be septum debris. Buy septa from a supplier who can give you a particle count, and use a 0.2 µm filter on any sample that has been sitting. The vial and filter selection guide covers the filter-to-vial matching that prevents most of this.
7. Headspace and GC-specific failures
Headspace vials are a different animal. They are 20 mL crimp vials with a thicker septum (typically 3 mm silicone/PTFE) and a crimp that must hold pressure at 80 to 120 °C. A headspace vial that leaks at temperature will show a pressure fault, or worse, will vent sample into the oven. The crimp torque and the seal geometry matter more here than anywhere else. If you run headspace, source your headspace vial from a supplier who specifies the pressure rating, and pressure-test a batch before you commit a sequence. For GC liquid injection, the GC vial needs a septum that is rated for the injection port temperature, not the tray temperature.
A comparison checklist with numbers you can act on
Here is the decision table I hand to new lab managers. It covers the four vial types most labs actually use, with the parameters that matter.
- Standard 2 mL screw vial (12 x 32 mm, 9 mm thread): septum 1.0 mm silicone/PTFE, puncture rating 3 to 5, torque 1.0 to 1.4 N·m, temperature range -40 to 70 °C, best for routine HPLC and LC-MS at ambient tray temperature.
- Crimp vial (11 mm aluminum seal): septum 1.0 mm, puncture rating 3 to 5, crimp height 5.5 to 5.8 mm, temperature range -40 to 120 °C, best for GC and high-temperature work, requires a calibrated crimper.
- Pre-slit screw vial: septum pre-slit, puncture rating 8 to 10, torque 1.0 to 1.4 N·m, temperature range -40 to 70 °C, best for multi-injection sequences and re-runs.
- Headspace vial (20 mL, 20 mm crimp): septum 3 mm silicone/PTFE, pressure rating 2 bar at 120 °C, crimp height 5.8 to 6.2 mm, temperature range up to 150 °C, best for volatile analysis.
If your application is not on this list, the rule is simple: match the septum thickness to the pressure, match the vial dimension to the tray, and match the glass to the analyte. Those three variables explain about 90% of the failures I have investigated.
Operational precautions that actually prevent failures
Set a torque standard and enforce it
Buy a torque screwdriver with a 0.1 N·m resolution and set it to 1.2 N·m for 9 mm screw caps. Train every analyst who touches a vial. Re-check quarterly. This one habit eliminates cap loosening, evaporation loss, and neck cracking in a single stroke. It also gives you a number to put in your SOP, which is worth more than a paragraph of “tighten securely.”
Cap injections per vial at three
Write it into the method. Three injections, then a new vial. If the method needs more, use a pre-slit septum. The cost of a fresh vial is a few cents. The cost of a failed sequence is hours of instrument time and a re-run that may not be possible if the sample is gone.
Inspect vials before loading
Look at the neck. A hairline crack at the crimp is often invisible until the vial is under pressure, but you can catch chips and obvious defects with a quick visual pass. A cheap magnifier lamp at the loading bench catches more than you would expect. Reject any vial with a chipped neck, a tilted cap, or visible particulate inside.
Control tray temperature and light
If your autosampler tray is not cooled, your sample is at room temperature for the whole run. For light-sensitive compounds, use amber vials. For volatile solvents, use a cap with a tighter seal and keep the sequence short. A 4 °C tray is not a luxury if you are running 96 samples over 12 hours.
Validate the vial, not just the method
Run a vial-to-vial RSD check once per quarter. Fill ten vials from the same sample, inject each once, and calculate the RSD of the peak area. If it is above 1.5% for a well-behaved method, your vials or your capping are the problem. The U.S. EPA’s SW-846 test methods give you the acceptance criteria framework, and Restek’s technical resources have practical guidance on vial and septum selection that aligns with those criteria.
Troubleshooting checklist
When a sequence fails, work through this in order. It takes ten minutes and saves hours.
- Symptom: high RSD (above 2%). Check cap torque, then septum condition, then vial dimension. Replace the vial lot and re-run three injections.
- Symptom: ghost peaks at the solvent front. Inspect the septum for coring. Replace with a pre-slit cap. Filter the sample.
- Symptom: needle fault or “vial not found.” Measure the vial height. Check for a short-neck vial in a long-neck position. Check the tray gripper alignment.
- Symptom: concentration drift upward over a long sequence. Cap loosening and evaporation. Re-torque and re-run.
- Symptom: low response on first injection only. Adsorption on active glass. Switch to deactivated vials or add organic modifier.
- Symptom: pressure fault on a headspace vial. Crimp height out of spec or septum too thin. Re-crimp with a calibrated tool and pressure-test.
- Symptom: visible particles in the needle or on the frit. Septum debris. Change septum supplier and add a 0.2 µm filter step.
What I recommend, concretely
Standardize on a 12 x 32 mm, 9 mm screw-thread vial with a 1.0 mm silicone/PTFE septum for all routine HPLC and LC-MS work. Set the torque at 1.2 N·m. Cap injections at three per vial. Use pre-slit caps for any method that needs more. For GC, use 11 mm crimp vials with a calibrated crimper set to a 5.5 to 5.8 mm crimp height. For headspace, use 20 mL vials with a 3 mm septum and a 5.8 to 6.2 mm crimp height, and pressure-test a batch before every campaign. Buy deactivated glass if you run below 10 ng/mL. Run a vial-to-vial RSD check quarterly and treat anything above 1.5% as a signal to audit your capping and your septum lot.
None of this is exotic. It is the difference between a lab that spends its time on chemistry and a lab that spends its time on mystery peaks. The vial is the cheapest component in the system and the one most likely to be blamed last. Check it first.
If you take one thing from this article, take the torque number and the puncture count. Those two parameters, applied consistently, will eliminate more failures than any instrument upgrade you can buy. The rest is inspection and discipline, and both are free.
References & further reading
Related resources from our lab consumables network:
- Autosampler Vial at autosamplerhplc.com
- Vial at vials-filters.com
- Headspace Vial at headspacevialsupplier.com
- Gc Vial at gcvialfactory.com
External references and standards: